Configuring App Actions
Configure RocketSim App Actions for your project to test deep links, push notifications, location simulation, quick actions, and privacy permissions.
A major part of RocketSim’s functionality is based on so-called App Actions. They’re configured based on your app’s primary target bundle identifier and allow you to perform the following actions:
- Test deeplinks (Universal Links)
- Test Push Notifications
- Simulate Locations (Single Locations & Routes)
- Run quick actions like relaunching, terminating, or resetting app state
- Reset permissions (E.g., location access, photo access)
Create a new App Actions Group
Section titled “Create a new App Actions Group”-
Start by opening the Settings window from either the Status Bar menu or the side window more menu:
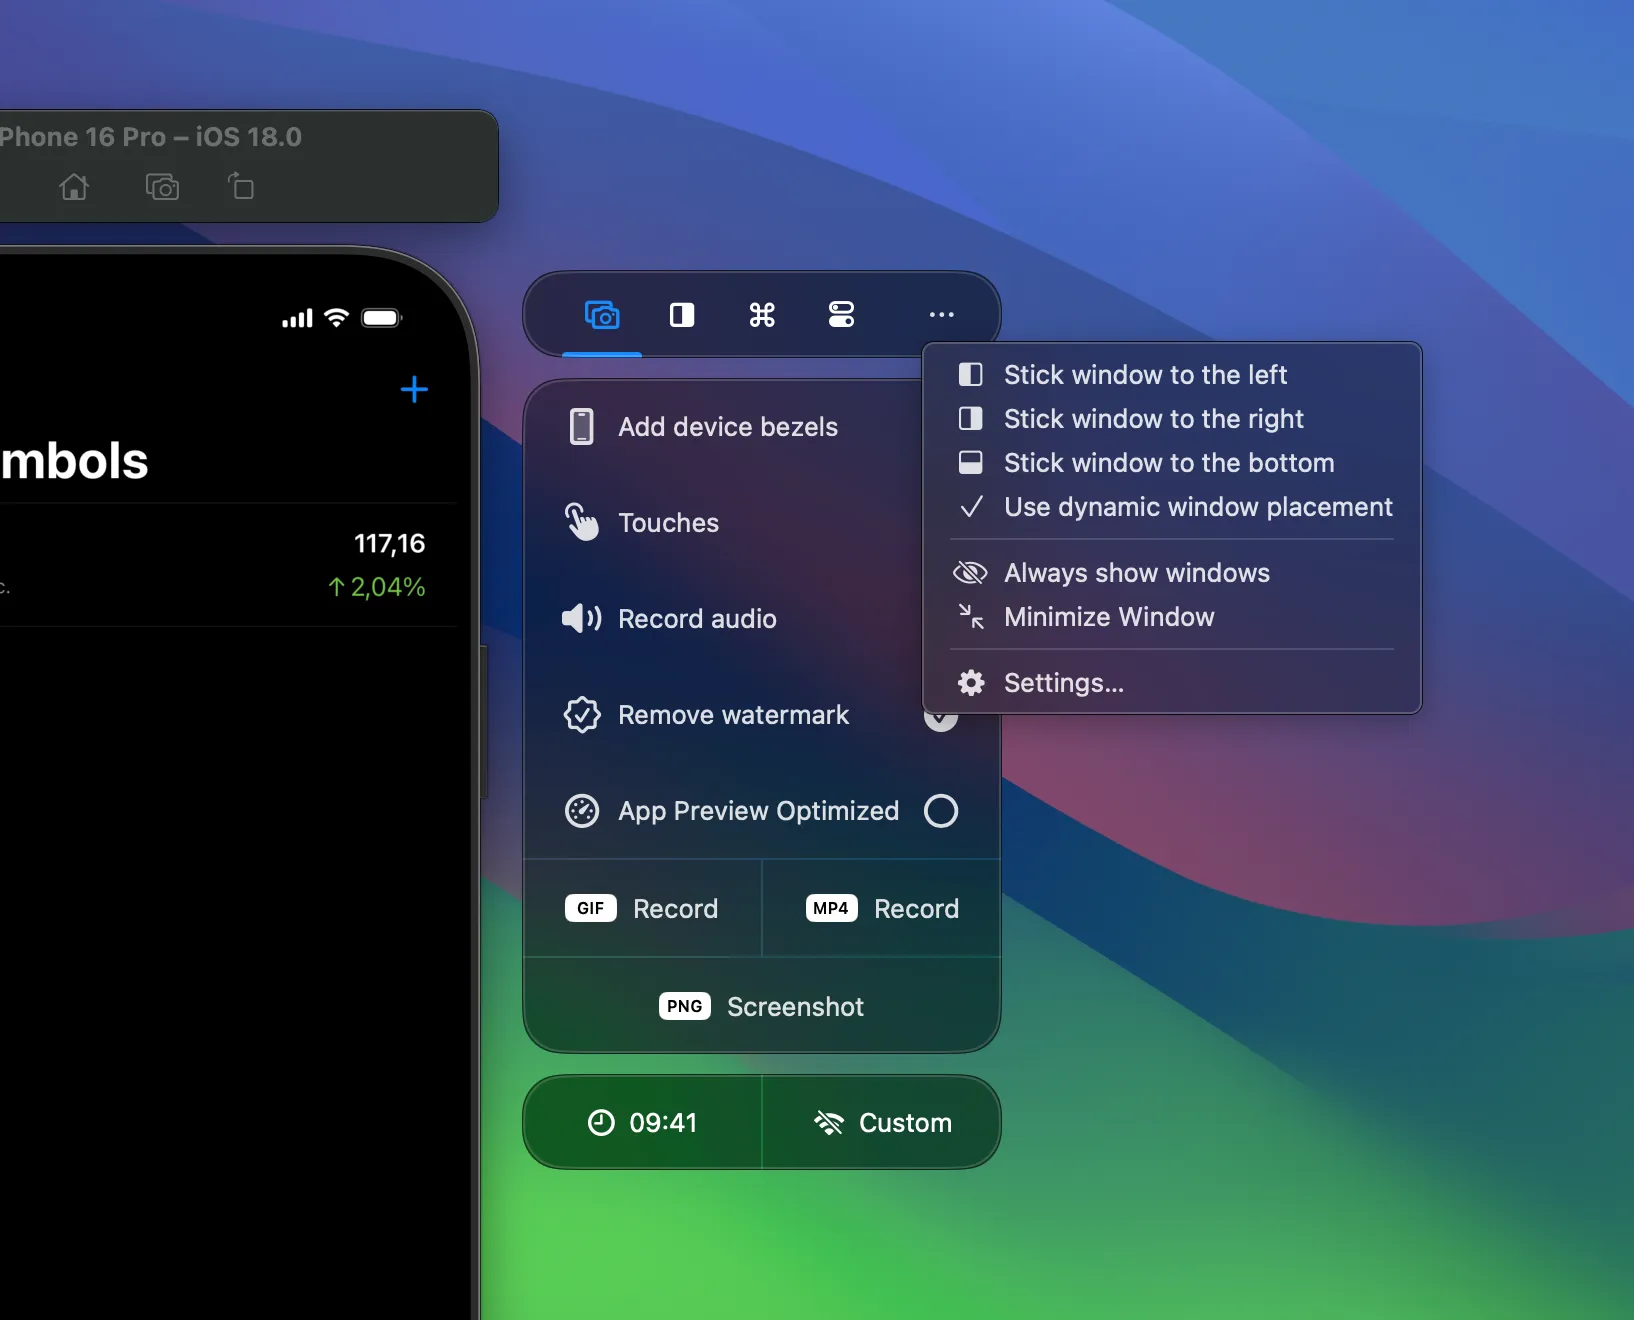
-
Select the App Actions tab and create a new group:
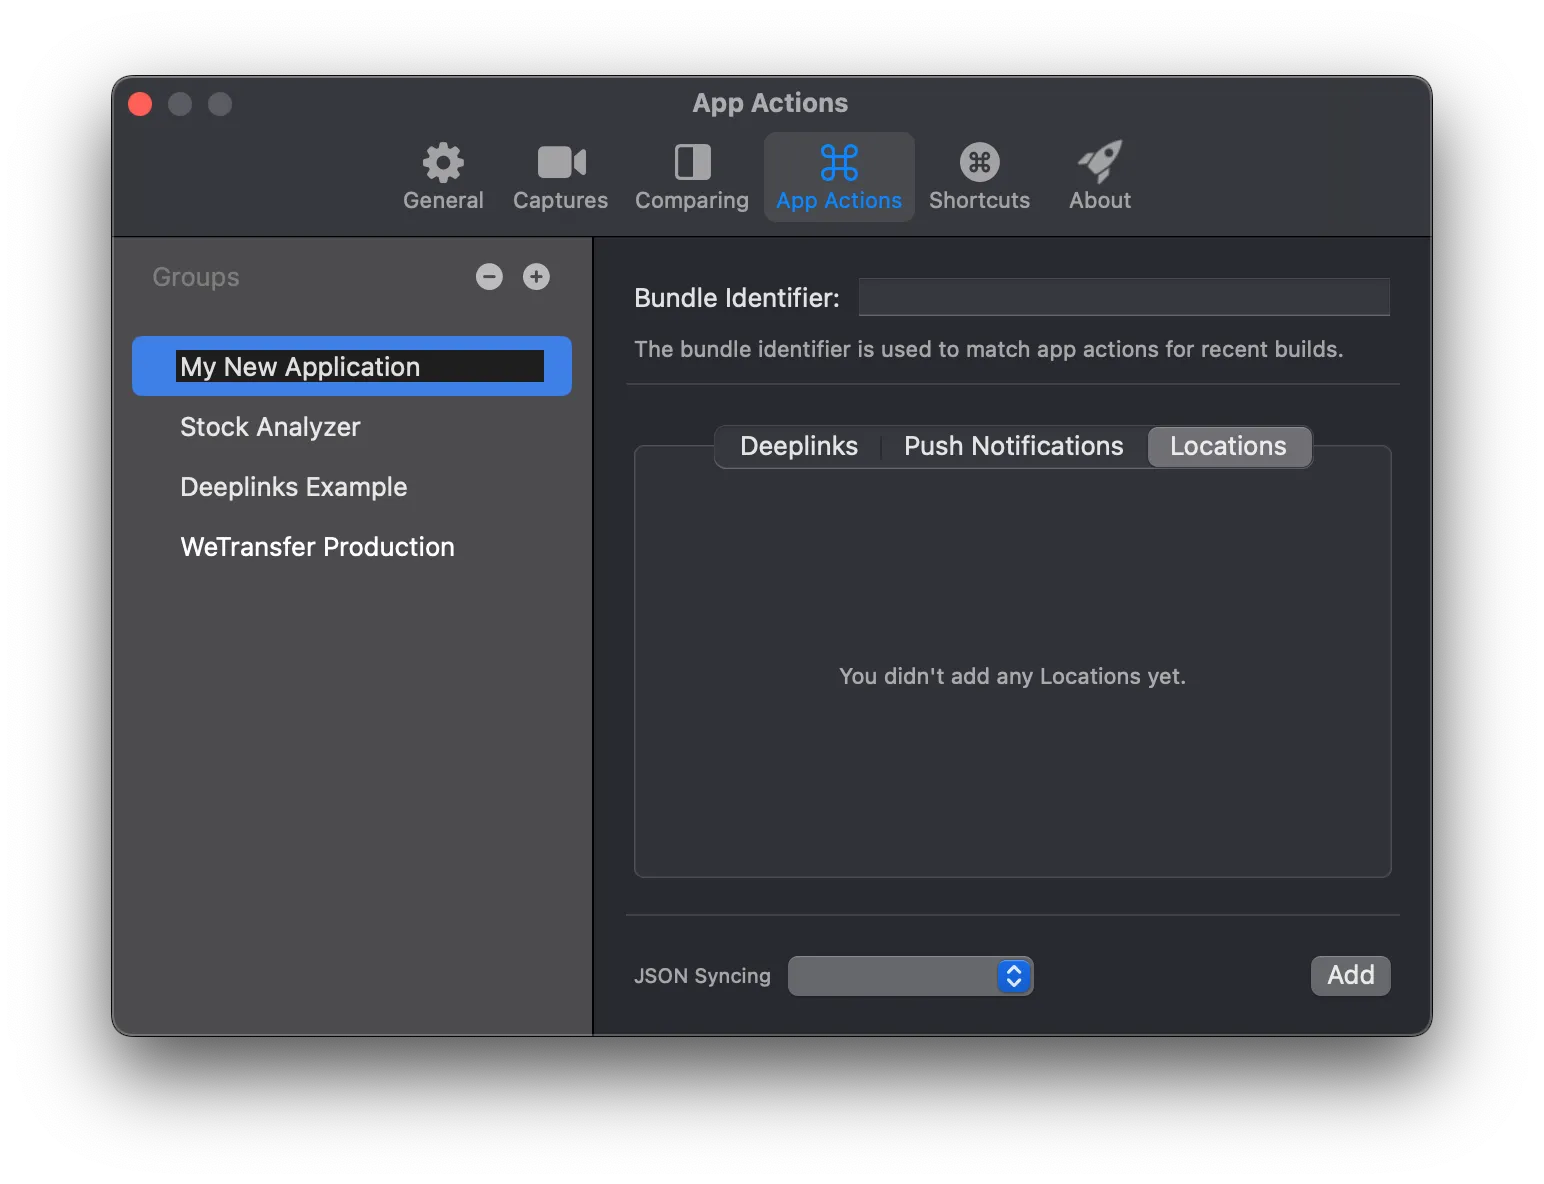
-
Provide the bundle identifier for your recent build. If you’ve already build your app before configuring, RocketSim will be able to suggest your recent build.
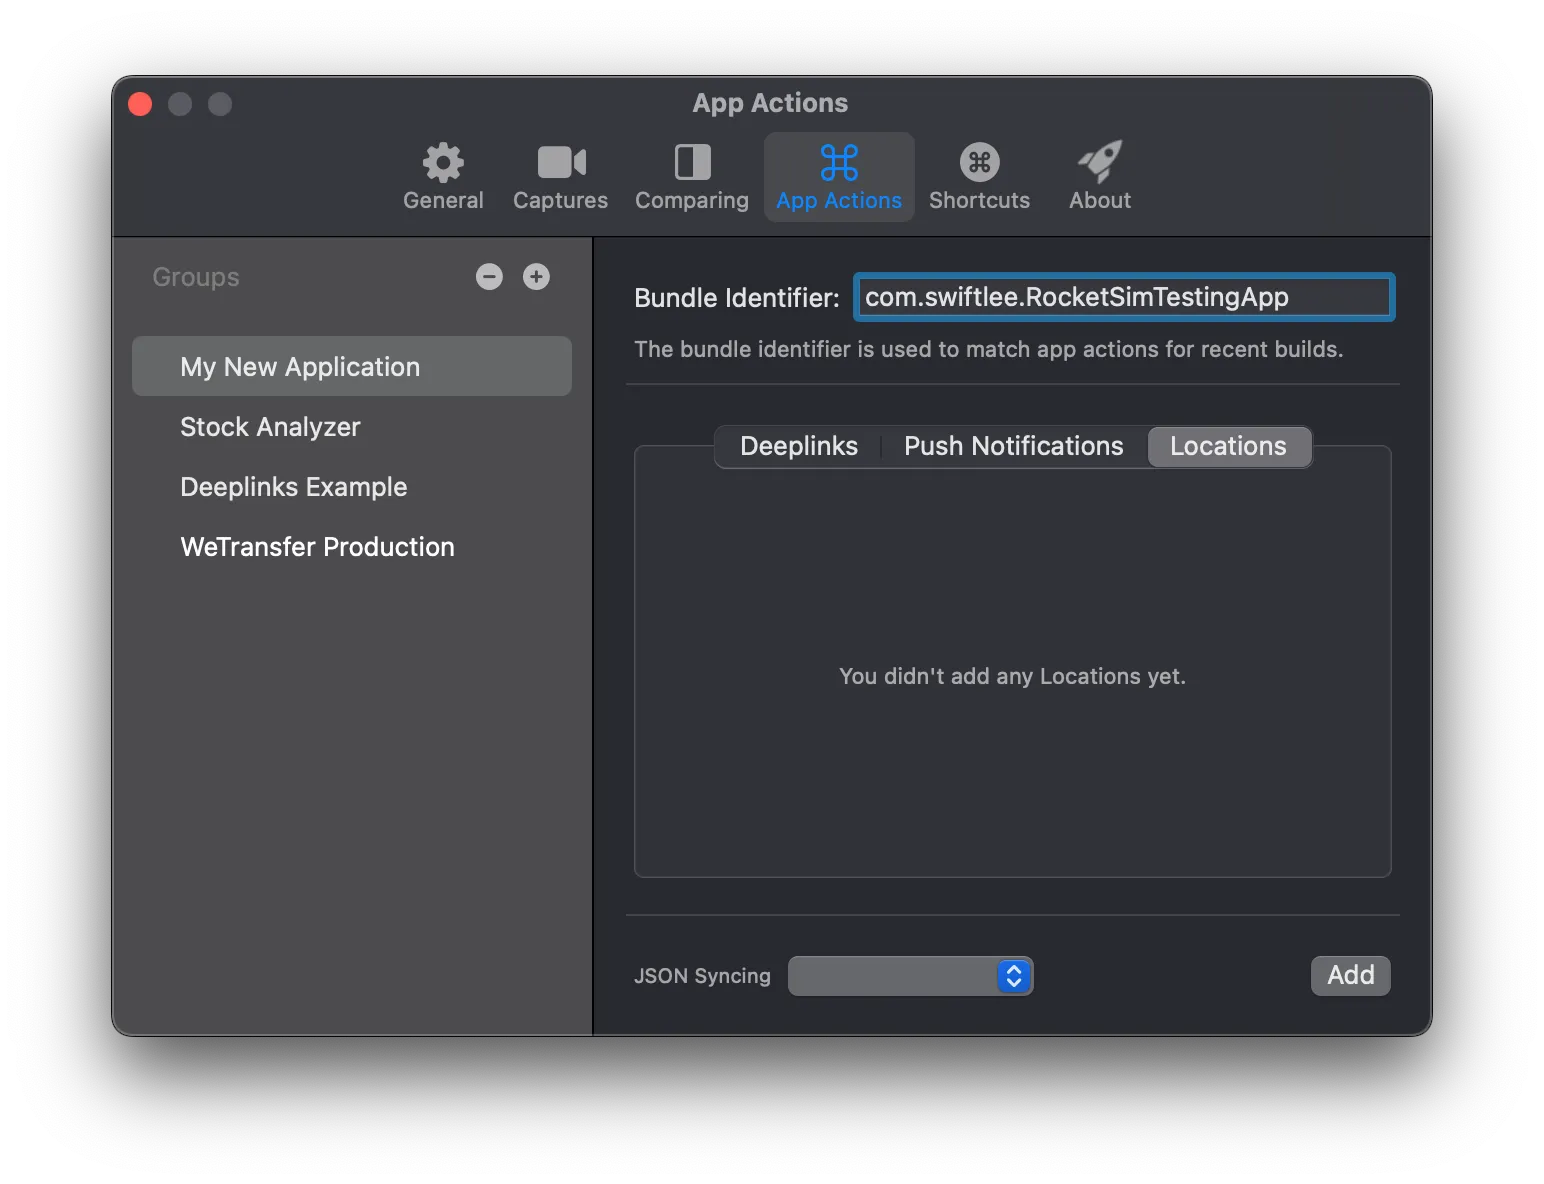
-
Press the Add button and start adding an App Action. For example, start by adding a deeplink for a basic website:
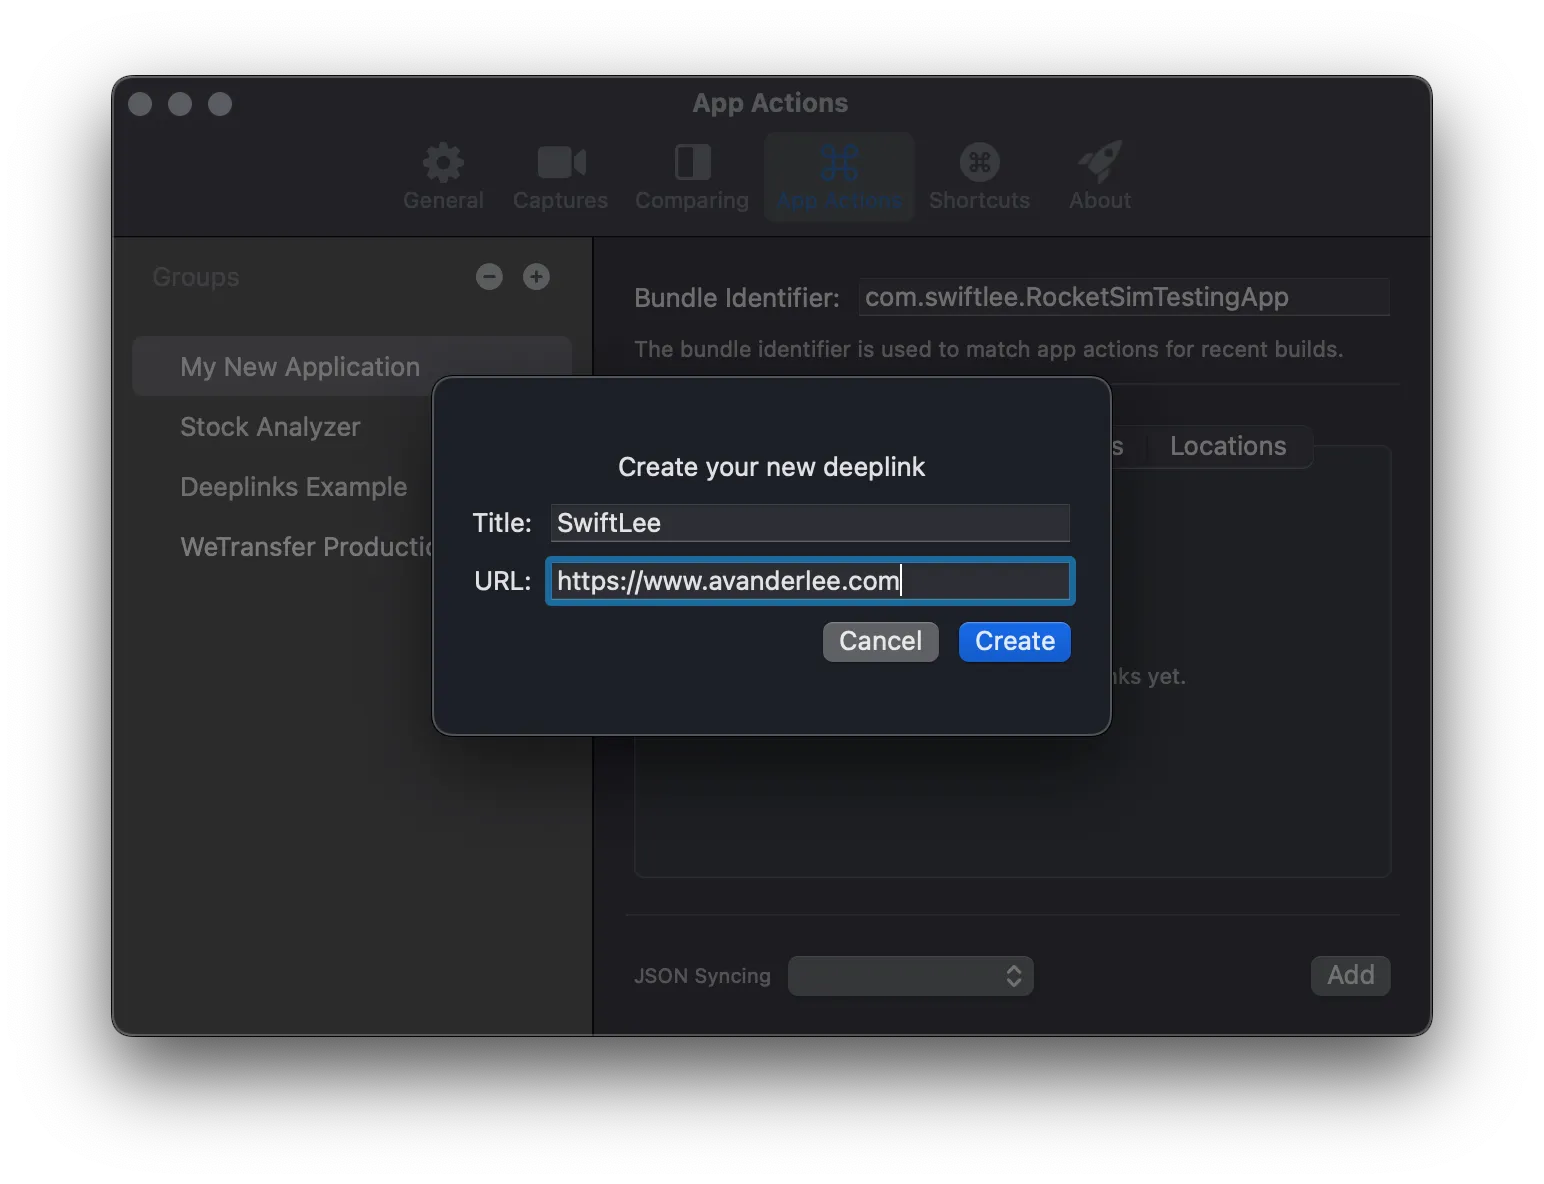
-
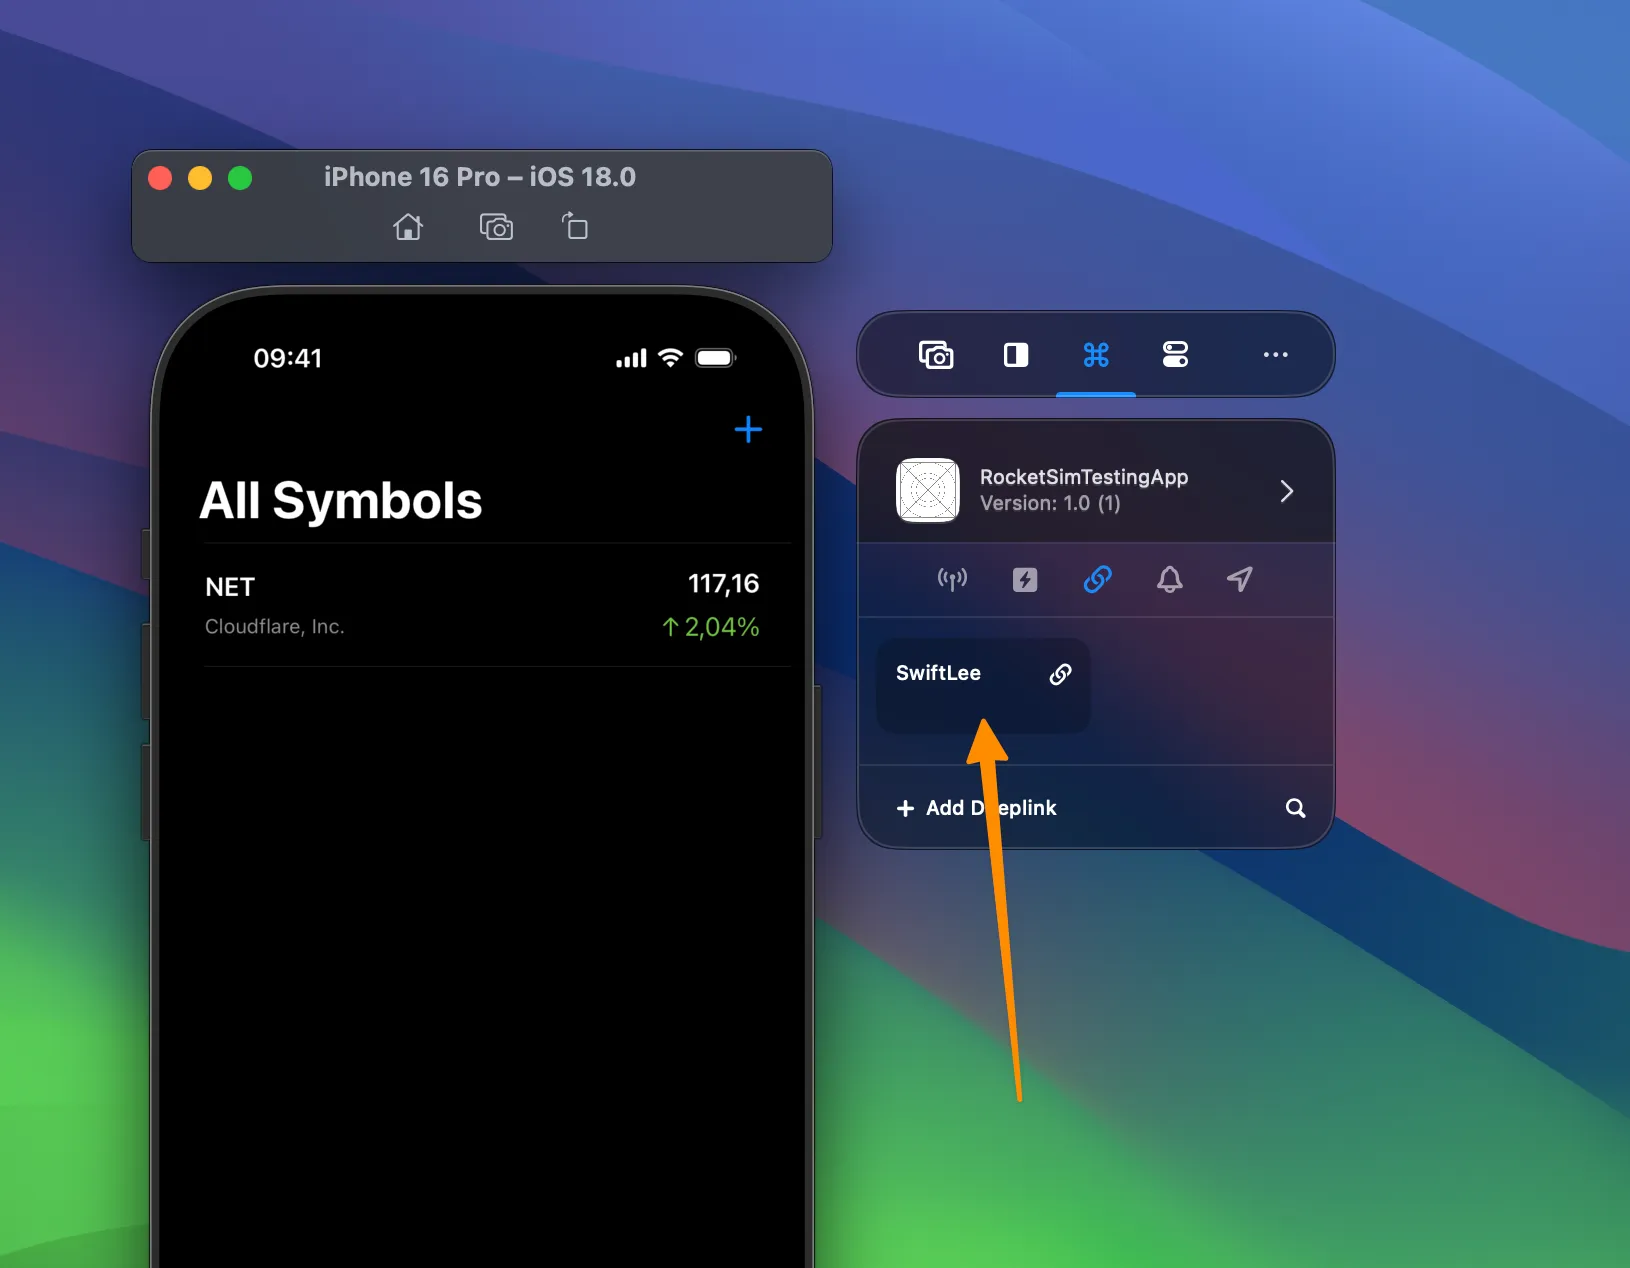
Go back to the Simulator and notice that your deeplink shows up after selecting the Recent Build matching your App Action Group:
-
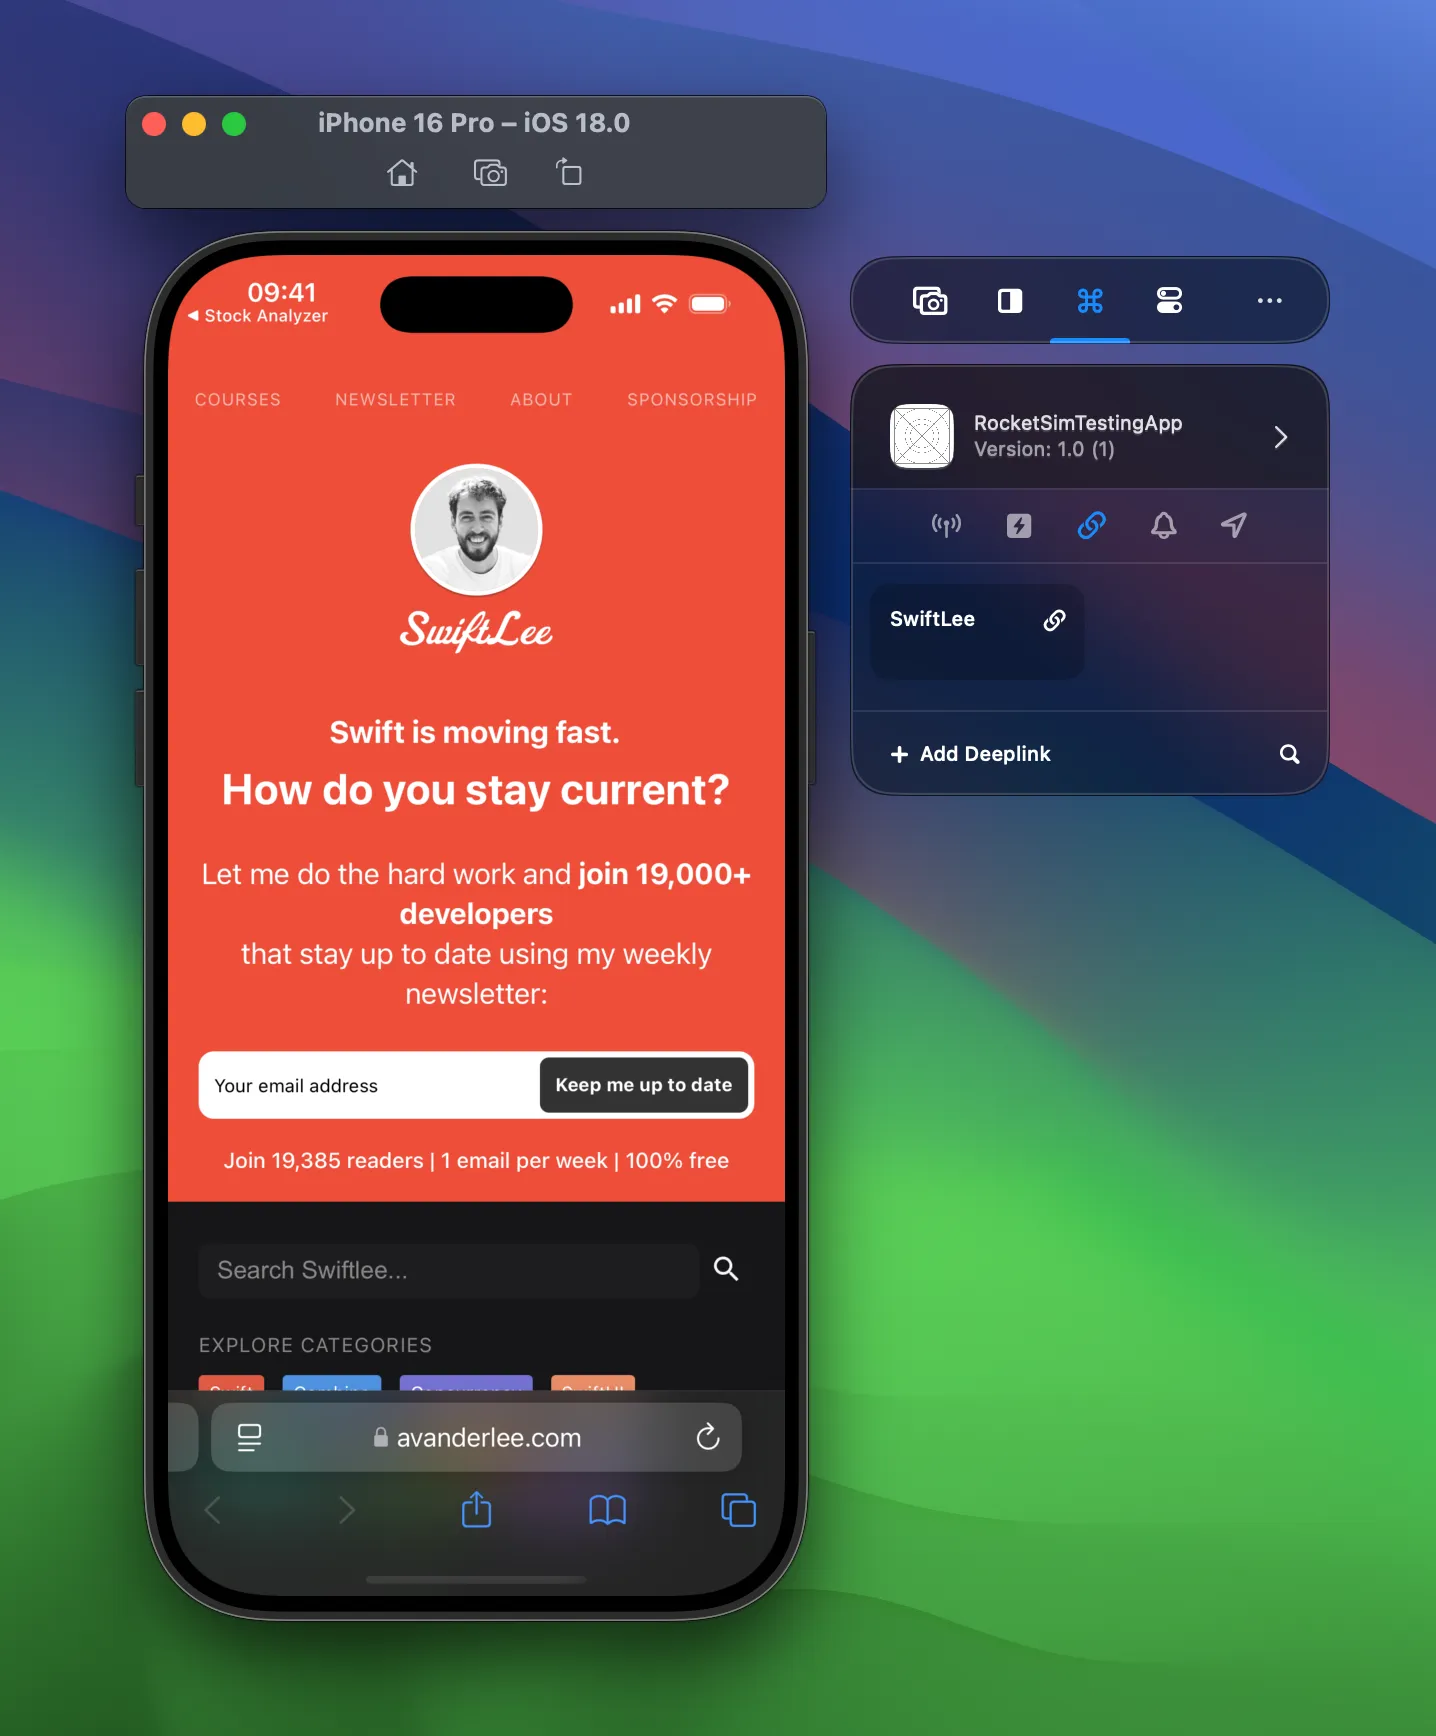
Click on your App Action and validate that it correctly opens the configured deeplink:
Exploring all App Actions
Section titled “Exploring all App Actions”Well done, you’ve configured your first App Actions group and executed a deeplink in the Simulator!
This is just the beginning, there’s much more to discover. While you’re at it, how about creating App Actions for Location Simulation and Push Notifications?
You can also explore relaunch buttons, directory shortcuts, or the permissions section. Networking tools like Network Speed Control and Network Traffic Monitoring now live in the dedicated Networking tab in the side window.