Getting Started with RocketSim
Set up RocketSim for the first time — select your Xcode installation, grant the required permissions, and start enhancing your iOS Simulator workflow in minutes.
During the first launch, you’ll be asked to provide several permissions that are required for RocketSim to function properly. RocketSim is a sandboxed application, meaning it’s secure but also requires explicit access to certain capabilities.
Setting up permissions
Section titled “Setting up permissions”RocketSim requires a few permissions to be able to access the Simulator and its builds.
Make sure to select the latest version of Xcode. RocketSim uses your Xcode application to fetch Simulator metadata and communicate with the Simulator.
We will re-ask for your Xcode Path in case a link your Xcode is lost or if we indicate a new Simulator that mismatches your currently configured Xcode.
Screen Recording
Section titled “Screen Recording”RocketSim uses Screen Recording permissions to read the Simulator’s window name and match it to the right device. Without permissions, we would only be able to see "Simulator" as a window name, making it impossible to properly calculate screen dimensions. These permissions are also used to record audio if enabled for Simulator captures.
Developer Directory
Section titled “Developer Directory”This is the directory in which your recent builds are stored. By providing access, RocketSim can show your most recent builds per Simulator and enhance your experience.
The Side Window
Section titled “The Side Window”Once configured, you’re ready to get started with RocketSim. Open a Simulator and the RocketSim side window should appear alongside it:
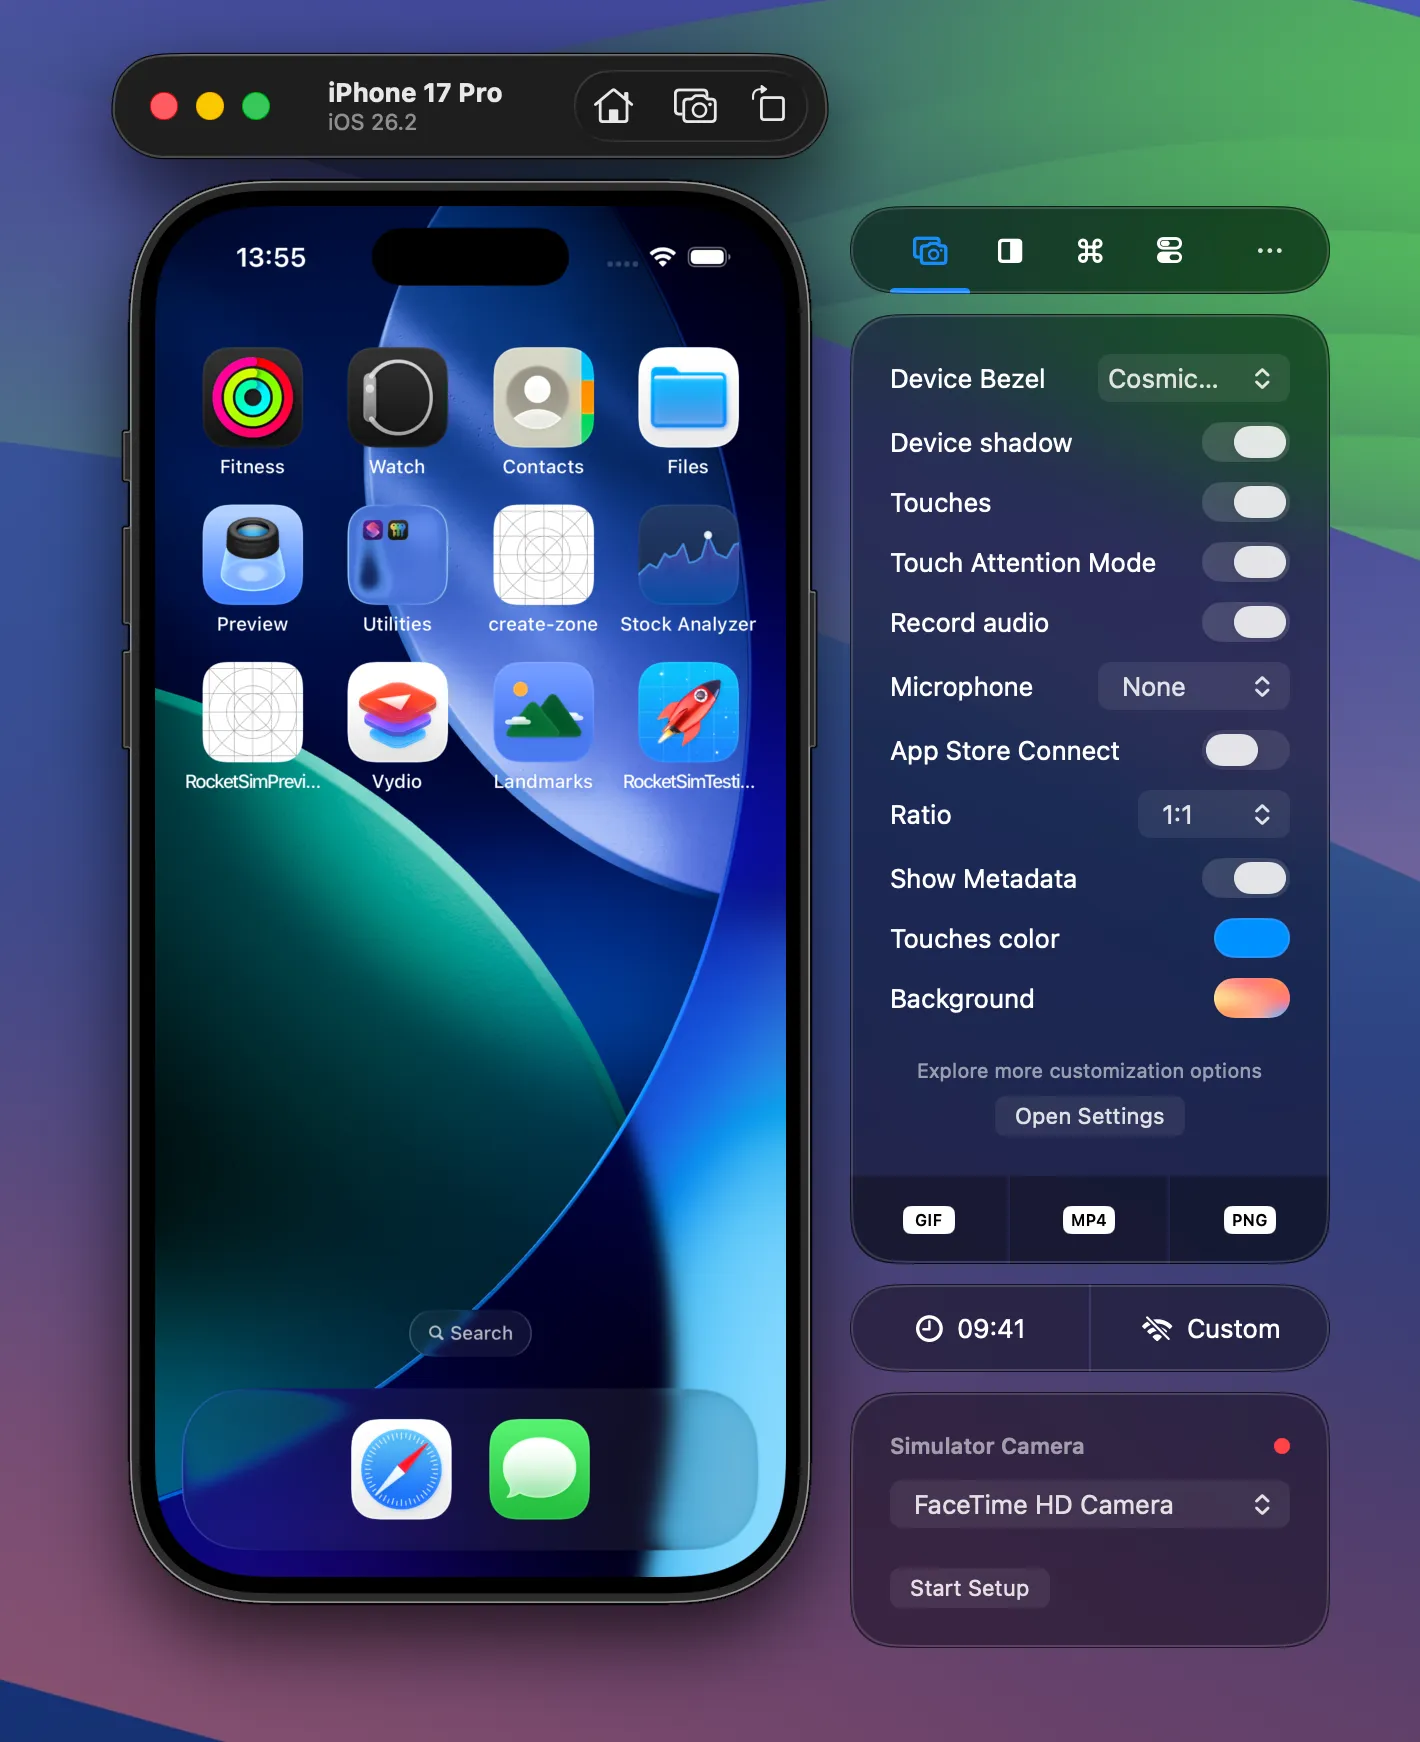
The side window is designed to feel like part of the official Simulator app. It moves with your Simulator and stays out of your way — the idea is that RocketSim enhances your development flow without ever being intrusive.
You’re in full control of how the side window behaves. You can reposition it (left, right, or bottom of the Simulator, or use dynamic placement based on available space), minimize it, or hide it entirely. All RocketSim features are also accessible from the menu bar, so the side window is always optional. Check out Side Window settings to adjust it to your preferences.
If RocketSim later needs a new permission (for example after an update), the onboarding flow can appear again so you can grant access.
You’re now ready to continue your journey by configuring your first App Actions.