The iOS Simulator camera is one of those things you expect to just work until you build a feature that depends on it. A QR scanner, document scanner, profile photo picker, or video onboarding flow quickly reminds you that the Simulator does not expose a real camera like an iPhone does.
That usually means you switch to a physical device, grant camera permissions, reproduce the flow, and then go back to Xcode for the next change. It works, but it is slow. RocketSim Camera Simulation closes that gap by streaming images or video into the Simulator through RocketSim Connect.
Why camera testing is slow
Camera features are often tied to the part of your app that changes the most: onboarding, signup, identity checks, scanning, checkout, or user-generated content. Those flows need fast iteration because they combine UI, permissions, hardware state, error handling, and often a backend response.
The problem is that the Xcode Simulator does not behave like a device with a physical camera. In many apps, AVCaptureDevice discovery fails or the system picker shows a fallback state. You can still develop most of your UI, but the moment you need the real camera path, you are back to a device.
I have made this mistake myself while building camera-related flows: I postponed device testing until the end, only to find out that the happy path worked while the permission or fallback state did not. That is exactly the kind of issue you want to catch while you are still in the Simulator.
Use RocketSim as the camera
RocketSim’s Simulator Camera Support lets your app receive a camera stream while running in the iOS Simulator. You keep your normal Simulator workflow, but RocketSim provides the media input.
RocketSim can stream media into your Simulator app so you can test camera flows without deploying to a physical device.
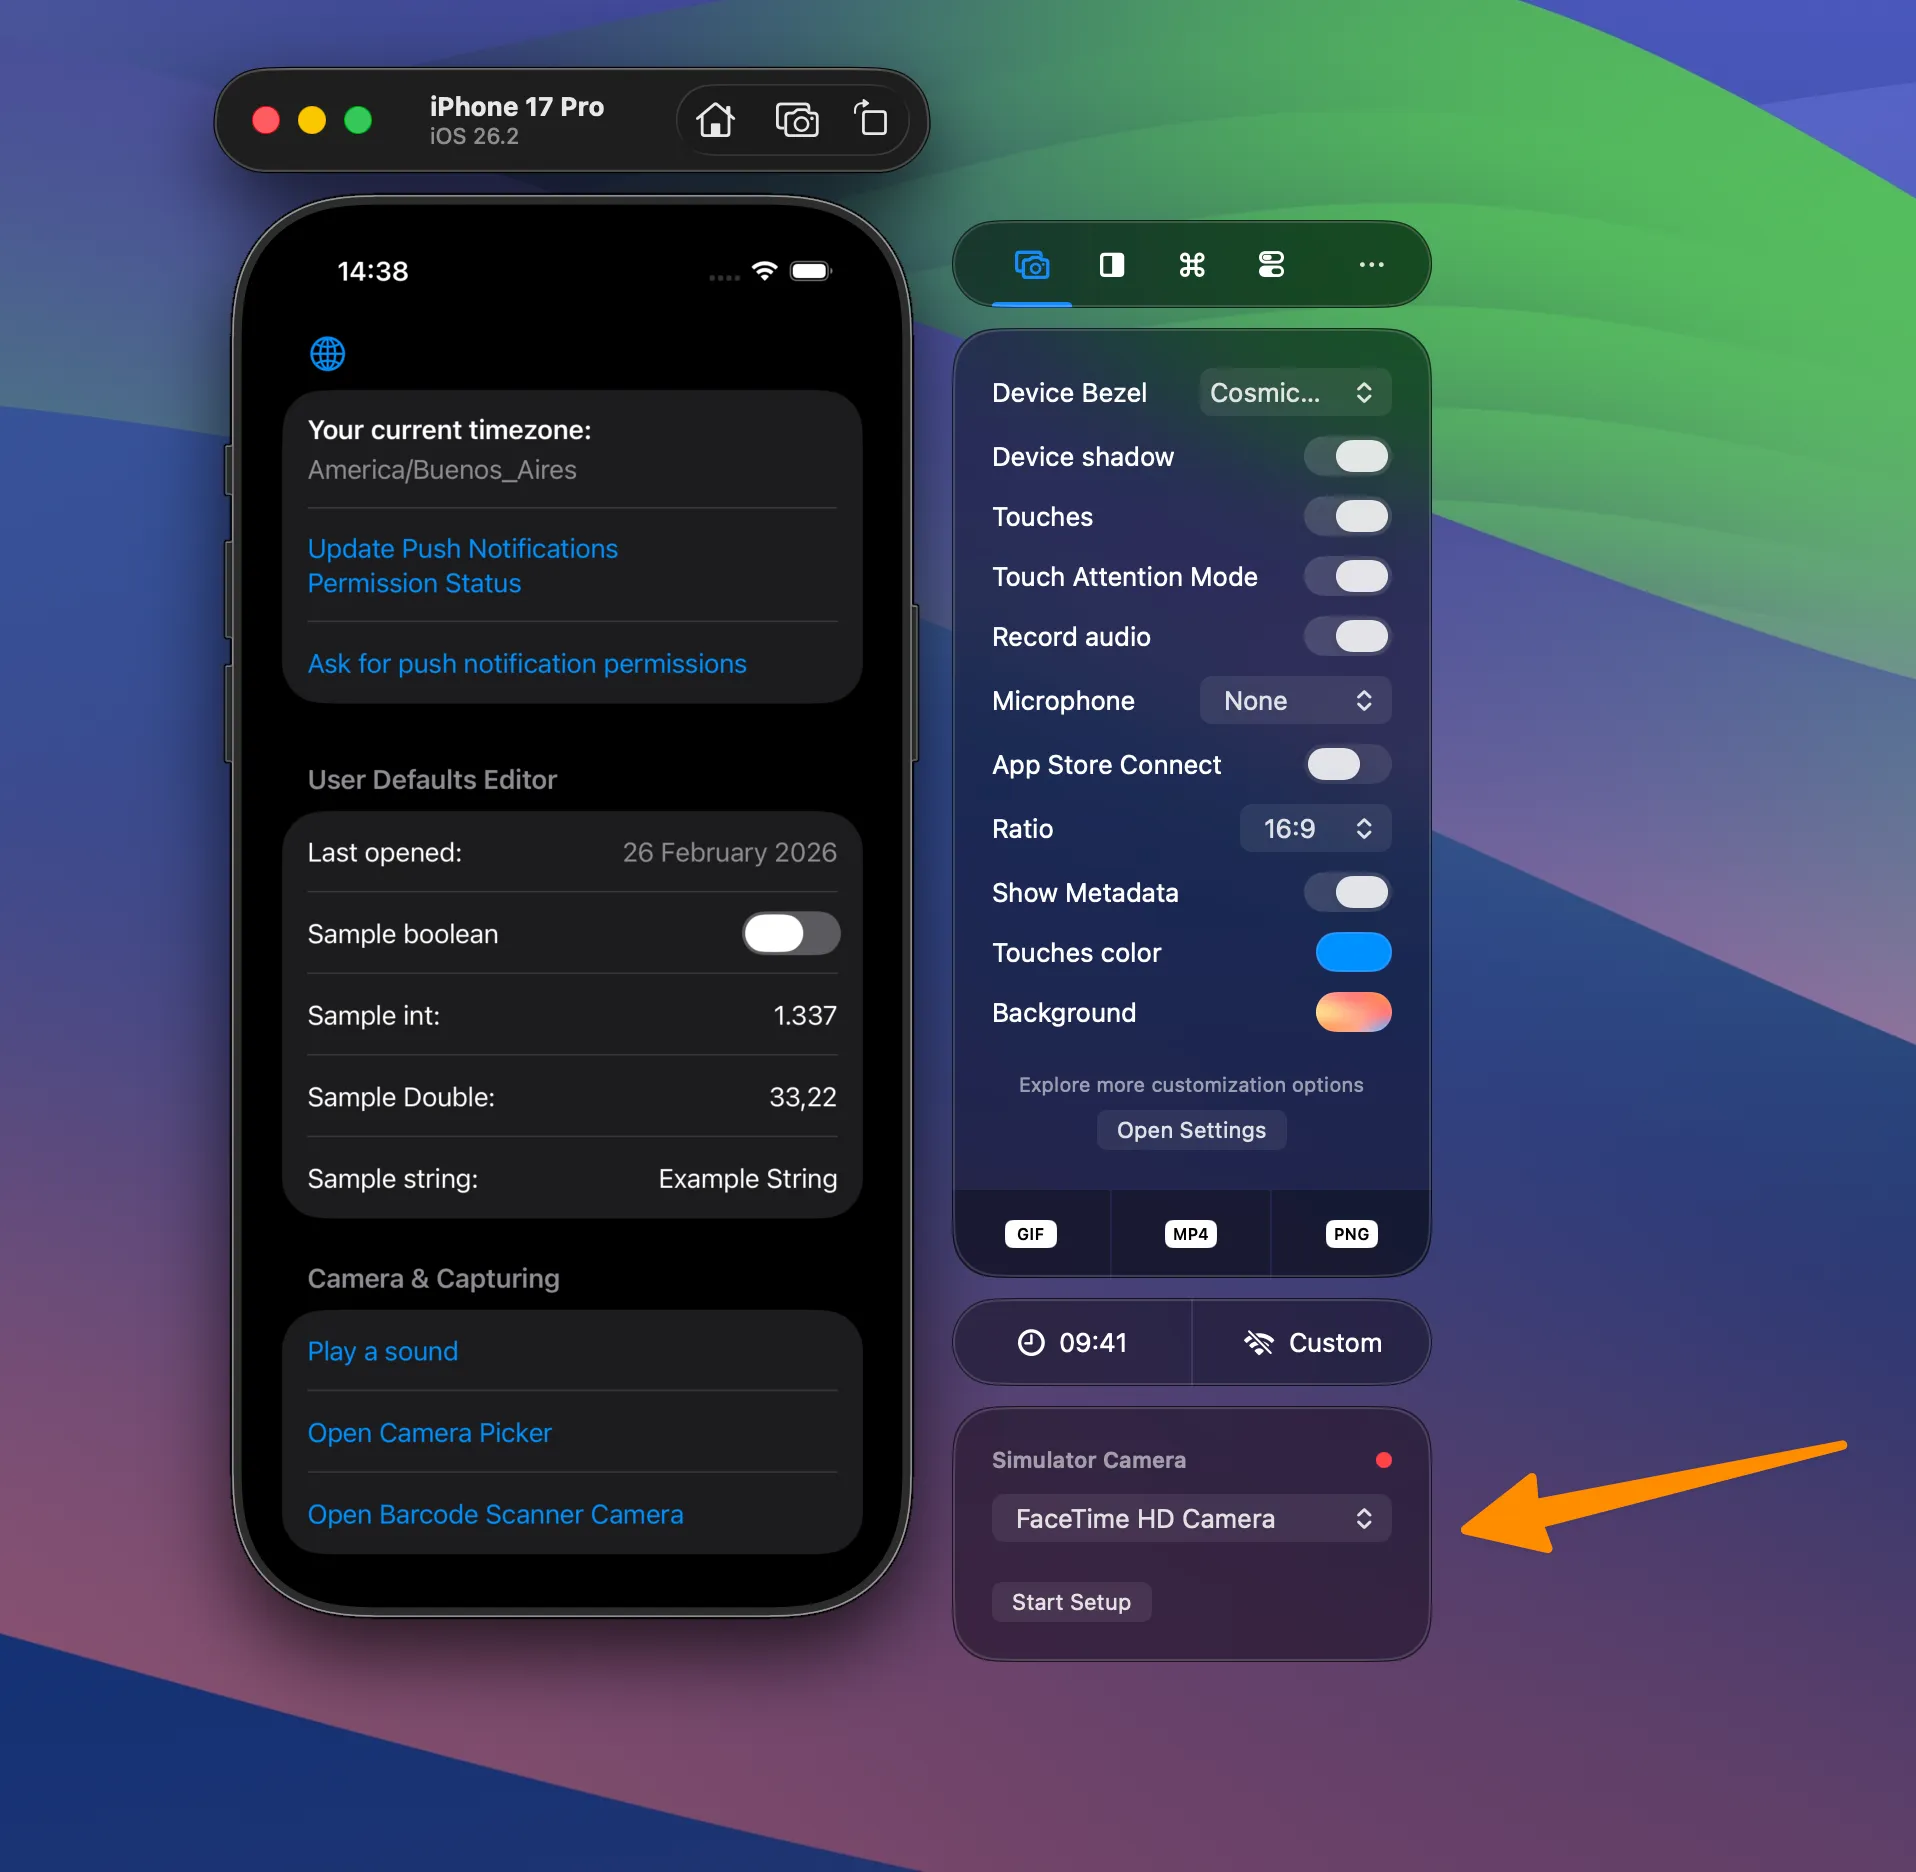
The setup has two parts. First, enable Camera Simulation from the Capture side window tab. Second, integrate RocketSim Connect using the in-app instructions so your debug build can receive the stream.
Once connected, your app can go through the same camera-dependent flow in the Simulator. That means you can test the UI, permission copy, scanner state, loading indicators, and fallback screens without leaving your Mac.
Test real camera scenarios
The biggest win is not that you can avoid a device forever. You still want a final pass on real hardware before shipping. The win is that the daily development loop becomes much faster.
You can use the iOS Simulator camera workflow for scenarios like:
- Testing QR code or barcode scanning
- Validating profile photo and avatar flows
- Checking document capture or identity screens
- Replaying a known video input for repeatable testing
- Verifying permission and empty states
- Testing how your UI behaves when no camera is available
The last point matters more than it sounds. A good camera flow is not just the happy path. You also need to know what happens when camera access is unavailable, permissions are denied, or a stream cannot be started.
RocketSim supports that flow through a None camera option. Your app keeps running through RocketSim Connect, but video camera discovery behaves as unavailable. This makes no-camera fallbacks much easier to test intentionally.
Handle no-camera fallbacks
You can also force the fallback state from your app’s launch environment:
ROCKETSIM_SIMULATOR_CAMERA=noneFor CI or scripted runs, RocketSim also supports:
ROCKETSIM_DISABLE_SIMULATOR_CAMERA=1I like this kind of switch because it turns a fragile manual scenario into something repeatable. Instead of hoping you remember to test the no-camera path once before release, you can make it part of your regular debug or QA checklist.
This is especially useful for teams. One developer can reproduce a camera issue, share the exact setup, and another developer can run the same Simulator flow without needing the same physical device or camera environment.
Use the Simulator for the fast loop
The goal is not to pretend the Simulator has become a physical iPhone. The goal is to move most of the camera development loop back to the place where you already build, debug, and iterate: your Mac.
There are still a few hardware-specific edges to validate on a device before shipping. The macOS camera resolution is used for returned sample buffers, video streams do not contain audio, and front/back camera switching maps to the same simulated stream. DataScannerViewController also does not currently work with RocketSim Camera Simulation.
That makes RocketSim a practical daily tool rather than a final hardware certification step. Use it to iterate on scanning UI, permission copy, fallback states, and repeatable media input quickly, then keep the final device pass for the smaller set of things only real hardware can prove.
Conclusion
The iOS Simulator camera is not a physical camera replacement by default, which is why camera-heavy apps often force you back onto a device. RocketSim Camera Simulation gives you a faster middle ground: stream media into the Simulator, validate your camera UI, and test fallback states while staying in your normal Xcode workflow.
If you have a camera flow in your app, install RocketSim from the Mac App Store and run one pass with the Simulator Camera Support documentation next to you. You can also check Apple’s AVFoundation documentation if you want to learn more about the camera APIs behind many iOS capture flows. Feel free to reach out on X/Twitter or open an issue on GitHub if you run into anything or have feature ideas. Thanks!